Overview
Learn the essential tools and techniques for painting guitars, including surface preparation, priming, and finishing. Discover tips for vintage restoration, safety measures, and how to avoid common mistakes. Get creative with unique designs and let your guitar reflect your personal style.
Frequently Asked Questions
1. What are the basic steps involved in guitar painting?
2. What essential tools are needed for surface preparation when painting a guitar?
3. Why is a respirator mask important during the guitar painting process?
4. What common mistakes should I avoid when painting a guitar?
5. How can I make my guitar painting unique?
When it comes to guitar painting, whether you're a seasoned luthier or a passionate hobbyist, having the right tools is essential. Painting guitars is not just about aesthetics; it's an art that requires precision, creativity, and a good set of tools. In this blog, we will discuss the fundamental tools necessary for painting guitars, focusing on everything from surface preparation to finishing touches that will elevate your instrument to new heights.
Understanding the Basics of Guitar Painting
Before diving into the tools, it's crucial to understand the basics of guitar painting. The process involves several steps that include surface preparation, priming, painting, and finally, applying a protective finish. Each of these steps demands specific tools that can make your painting experience smoother and more effective.
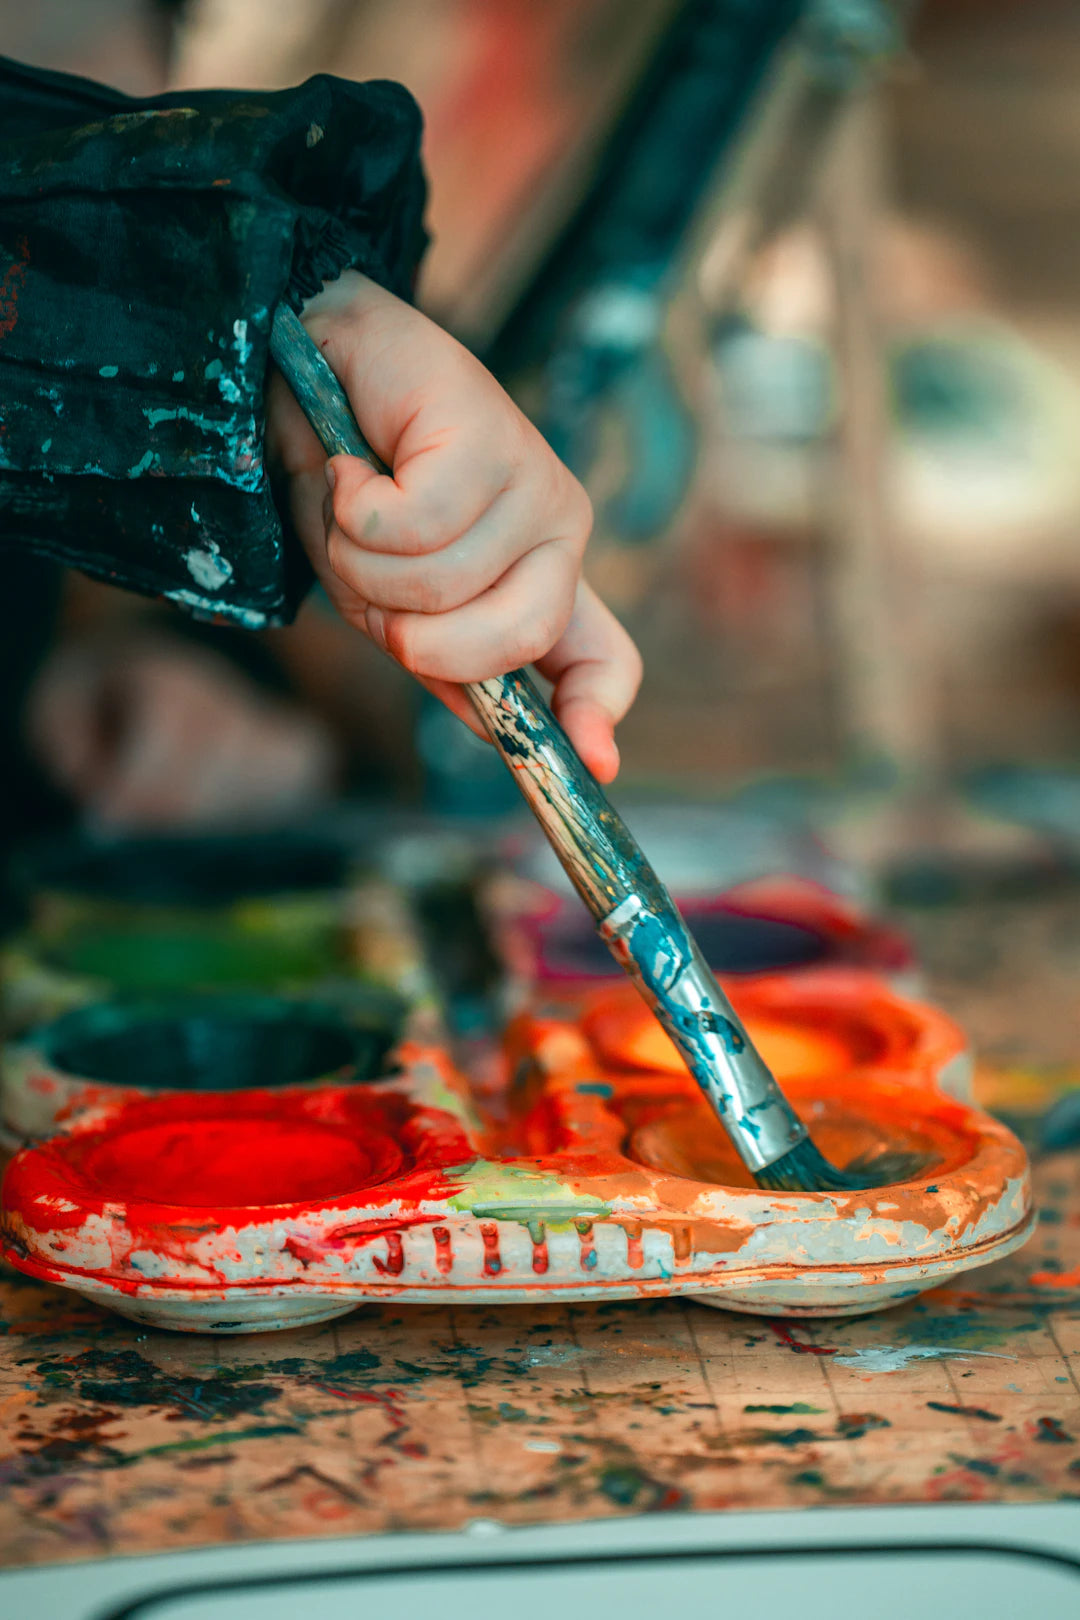
Essential Tools for Guitar Painting
Surface Preparation Tools
Surface preparation is the first and one of the most critical steps in the painting process. To achieve a flawless finish, the guitar's body, neck, and headstock must be adequately prepared. Here are the primary tools required:
- Sanding Blocks and Discs: Sanding is crucial for removing old finishes and smoothing out the wood surface. A variety of grit levels will help you achieve the desired smoothness.
- Masking Tape: It protects areas you don’t want to paint, ensuring clean lines and avoiding splatters.
- Cleaning Solutions: A good cleaner/degreaser will remove any dust, grime, or oils left on the guitar surface, providing a perfect foundation for painting.
Priming Tools
After preparing the surface, the next stage is priming. Priming helps in achieving a uniform base for your paint and ensures better adhesion and color payoff. Here are the essential priming tools:
- Primer Spray Guns: A quality spray gun offers excellent control over your primer application, reducing the chances of drips and uneven layers.
- Brushes for Touch-Up: A set of fine brushes is necessary to reach small areas and apply touch-up primer where the spray might miss.
- Respirator Mask: Safety first! A good respirator mask protects you from fumes associated with primers.
Painting Tools
Now, it’s time to bring your artistic vision to life. The painting tools will significantly impact your final result. Here are the must-haves:
- Acrylic Paints: Acrylic paints are popular for guitar finishes due to their vibrant colors and durability. They are also easier to work with.
- Airbrush Kit: For those looking to create intricate designs or transitions, an airbrush kit is an excellent choice for delivering precise and detailed spray patterns.
- Paint Brushes: High-quality synthetic brushes are great for larger areas, while fine detail brushes allow for intricate work.
Finishing Touch Tools
After the painting stage comes the finishing touches, which help protect the paint and enhance the guitar's overall appearance:
- Clear Coat: A clear coat adds gloss and protection to the paint, making it resistant to wear and tear.
- Polishing Compound: Use polishing compounds to buff the finished guitar, giving it a showroom shine.
- Microfiber Cloths: These help in gentle polishing without scratching the surface.
Tips for Vintage Guitar Restoration
For those interested in vintage guitar restoration, painting plays a crucial role in restoring the instrument's original beauty. When working on a vintage guitar, one must be particularly careful about preserving its character while still restoring its appearance. Here are some tips:
- Research the Original Finish: Before starting work, understand the original finish of the guitar. This knowledge will guide your selection of primers and paints.
- Maintain Original Elements: Preserve things like the premium Tele neck pickup wherever possible. They contribute not only to the aesthetic but also to the sound of the instrument.
- Document the Process: Keeping a record of your restoration steps can assist in future projects and help you learn from any mistakes.
Safety Measures During Guitar Painting
Painting can release toxic fumes and particulate matter, making it essential to prioritize safety throughout the process:
- Work in a Well-Ventilated Area: Always ensure that the workspace is well-ventilated to reduce exposure to fumes.
- Wear Protective Gear: Use goggles, gloves, and a mask to provide additional safety. Protect your skin from paint and solvents.
- Keep Tools Organized: A cluttered workspace can lead to accidents. Keep tools organized to promote safety and efficiency.
Common Mistakes to Avoid
Even seasoned painters can make mistakes while painting guitars. Here are common pitfalls to watch out for:
- Skipping Surface Prep: Rushing through the surface preparation can lead to poor adhesion and a flawed finish.
- Applying Too Much Paint: It's tempting to apply thick coats, but this can lead to runs and drips. Instead, opt for multiple thin coats.
- Lack of Patience: Allow adequate drying time between layers. Rushing can result in a tacky finish that never sets properly.
Making Your Painting Unique
Once you’ve mastered the basics, it’s time to let your creativity shine. Here are some creative ideas to make your guitar painting truly unique:
- Custom Stencils: Design your own stencils to create intricate patterns and designs easily.
- Layering Techniques: Experiment with layering colors to achieve stunning effects.
- Shop for Inspiration: Browse other guitar paintings online for fresh ideas and techniques you can adopt.
Final Thoughts on Your Guitar Painting Journey
Painting guitars is an exhilarating journey that combines artistry with craftsmanship. With the right tools and techniques, your guitar can transform into a unique expression of your creativity. Whether you are restoring vintage guitars or customizing your instrument to fit your style, these essential tools will set you on the right path. Remember, patience and practice are key—don’t hesitate to experiment and learn from each project. Turn the ordinary into the extraordinary, and let your guitar be a testament to your passion for music and creativity!
Linked Product

Odyssey Solstice Tele Neck SC
The Odyssey Solstice Tele Neck SC pickup offers a warm, articulate tone ideal for a variety of musical styles, including country, blues, and Americana. Its hand-wound construction and Alnico V magnets enhance harmonic complexity and deliver a classic Telecaster sound with modern reliability. This pickup is designed for musicians seeking a consistent and authentic tonal experience while painting their guitars with personal flair.
View Product