Overview
Clear coating your guitar is essential for protection, durability, aesthetics, and sound quality. This guide covers the importance of clear coating, types of clear coats (polyurethane, catalyzed lacquer, acrylic lacquer), materials needed, a step-by-step application process, common mistakes to avoid, and maintenance tips to keep your guitar looking and sounding great.
Frequently Asked Questions
1. Why is clear coating important for my guitar?
2. What types of clear coats are commonly used for guitars?
3. What materials do I need for clear coating my guitar?
4. What are some common mistakes to avoid when clear coating?
5. How can I maintain my clear coated guitar?
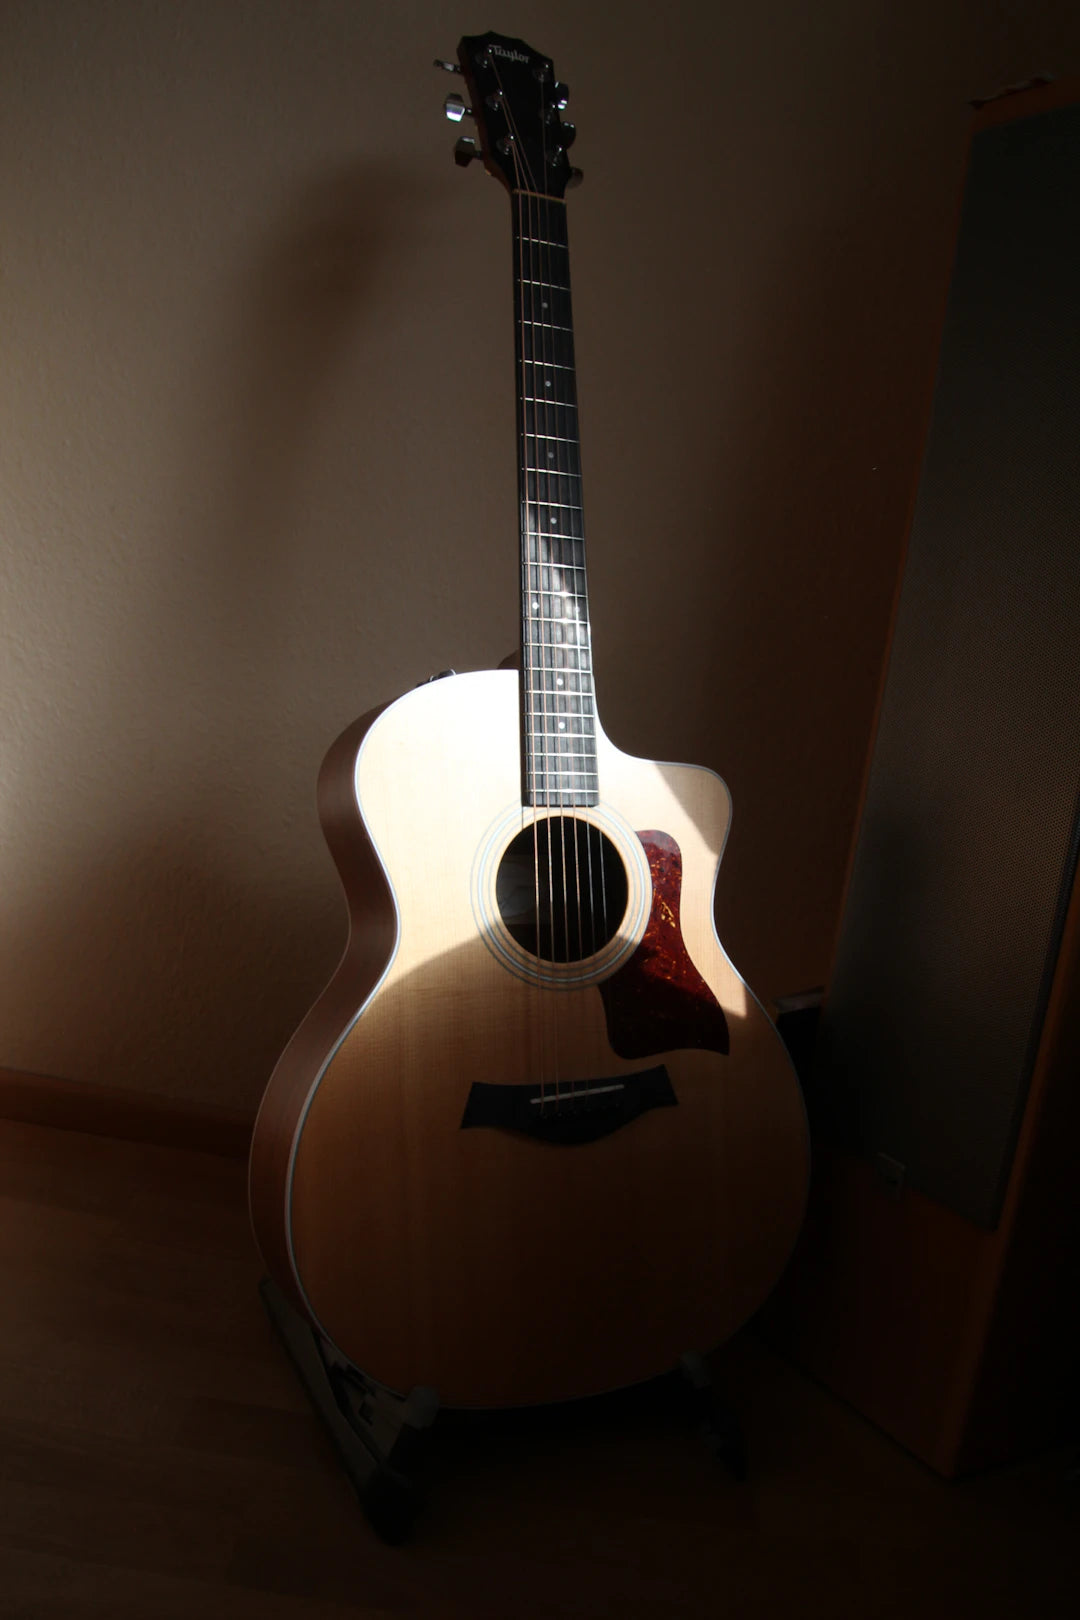
For every guitarist, the sound quality and articulation of their instrument are paramount. When you consider that the aesthetics of a guitar can also directly influence the overall tone and character, it's clear why many enthusiasts turn to painting their guitars. However, committing an hour or two to apply a beautiful finish isn’t the end of the journey. Clear coating your painted guitar is an essential step that not only enhances its appearance but also enriches the articulate guitar tone. In this blog, we'll explore best practices for clear coating your guitar, focusing on ensuring that your hard work results in a stunning final product.
The Importance of Clear Coating
Clear coating is a protective layer that seals and safeguards your painted guitar body. It plays a crucial role for several reasons:
- Protection Against Damage: Clear coats provide a shield against scratches and dings, keeping your artistic designs safe.
- Enhanced Durability: A good clear coat can help prolong the life of your paint job and reduce the risk of fading.
- Improved Aesthetics: A glossy finish can enhance the vibrancy of paint colors, making them pop.
- Sound Quality: The right clear coat can contribute to an improved articulate guitar tone by preserving the resonance of the wood.
Choosing the Right Clear Coat
When it comes to clear coating, options abound. Here are the most common types you’ll encounter:
Polyurethane
Polyurethane is popular among guitarists for its durability and resistance to moisture. It comes in various sheens, from matte to glossy, allowing for customization based on your aesthetic preference. Moreover, polyurethane clear coats can enhance the clarity of the painted surface, helping to project the articulate guitar tone beautifully.
Catalyzed Lacquer
Catalyzed lacquer is another robust option, known for its fast-drying capabilities. It generally offers a hard finish and a luxurious sheen. This choice is favored by many custom guitar builders due to its excellent clarity and beautiful appearance. However, it requires skill to apply since it needs a controlled environment to prevent imperfections.
Acrylic Lacquer
Acrylic lacquer is favored for its ease of application and relatively low toxicity. It dries quickly and can provide a beautiful, glossy finish. While it may not offer the same level of durability as poly, it is simpler to work with for beginners and can still result in stunning aesthetics.
Materials Required for Clear Coating
Before you start, make sure you have all the necessary tools and materials:
- Clear coat of choice (polyurethane, lacquer, etc.)
- Spray gun or aerosol can
- Sandpaper (various grits)
- Clean cloths
- Masking tape
- Protective gear (gloves, mask, goggles)
Step-by-Step Process for Clear Coating Your Guitar
Now, let’s delve into the best practices for applying a clear coat to your freshly painted guitar:
1. Prepare the Workspace
Set up in a well-ventilated area to prevent inhalation of fumes. The workspace should also be dust-free to avoid imperfections in your clear coat. It’s essential to maintain a controlled environment, especially when working with lacquer.
2. Sand the Guitar Surface
Start by lightly sanding the painted surface using fine-grit sandpaper (between 800 to 1200 grit). This step helps create a proper surface for the clear coat to adhere effectively. Make sure to wipe down the surface with a clean, damp cloth to eliminate any dust or debris.
3. Mask Off Areas
Use masking tape to cover areas of the guitar that you do not want to coat, such as pickups, hardware, or any other components. Precision in this step will ensure that only the intended surfaces receive the clear coat.
4. Apply the Clear Coat
For an even application, hold the spray gun or can approximately 12-14 inches away from the surface. Apply the clear coat in thin, light coats. It's better to apply multiple thin layers rather than one thick layer to avoid dripping. After applying the first coat, allow it to cure according to the manufacturer's recommendations.
5. Sand Between Coats
Once the first coat is dry, lightly sand the surface with finer grit sandpaper (around 1500 to 2000 grit) to remove any imperfections. Repeat the clear coating process, applying additional coats (generally 2-4 coats total). Always allow for drying and curing time between each coat.
6. Final Sanding and Polishing
After the last coat has cured properly, you may want to perform a final sanding with ultra-fine sandpaper (2000 grit or finer) for a perfectly smooth surface. Follow up by polishing the surface to achieve the desired shine.
Common Mistakes to Avoid
Even seasoned guitarists may fall into traps during the clear coating process. Here are common pitfalls to steer clear of:
- Skipping Sanding: Not sanding between coats can lead to an uneven finish.
- Over-applying: Thick layers can lead to runs and drips in the finish.
- Poor Ventilation: Not allowing adequate ventilation can lead to a cloudy finish and inhalation of toxic fumes.
- Neglecting Patience: Rushing the drying or curing process can result in poor adhesion, leading to peeling or chipping.
Maintenance Tips for Your Clear Coated Guitar
Once you’ve successfully applied a clear coat, the work doesn’t stop there. Maintenance will keep your guitar looking great while ensuring its performance:
- Cleaning: Use a soft, lint-free cloth to clean the surface regularly. Avoid abrasive materials that might scratch the clear coat.
- Storage: Keep your guitar in a controlled environment, away from extreme temperatures and humidity to prevent damage.
- Regular Inspections: Check for any signs of wear or damage in the clear coat. Attending to small chips early can save you from larger issues down the line.
Unlocking the Full Potential of Your Instrument
Clear coating your painted guitar opens the door to a world where aesthetics meet sound quality. By following the best practices outlined in this guide, you'll be equipped to transform your instrument into a stunning piece of art that resonates deeply with the articulate guitar tone you've worked tirelessly to achieve. Whether you're in Austin, where the vibrant guitar painting scene may inspire your creativity, or elsewhere, the right finishing touches can make all the difference. Remember, your guitar is more than just an instrument; it’s an extension of you and your passion for music. So invest the time and care into clear coating, and you'll be rewarded with a guitar that not only looks incredible but sounds equally awe-inspiring.
Linked Product

Odyssey Solstice Tele Neck SC
The Odyssey Solstice Tele Neck SC pickup offers musicians a warm, articulate tone ideal for a range of styles, from country to blues. Hand-wound with precision in the USA, it features Alnico V magnets and enamel-coated copper wire to enhance harmonic complexity and preserve sound quality. This pickup is designed for those seeking an authentic Telecaster voice with reliable performance.
View ProductStep into the Shopify or Wix store of another user. Begin your visit by clicking this store link. Kindly note that this is a promotional link, and we do not take responsibility for the content of the linked store.